

How to Clean Oil, Exhaust and Belly Grime from an Airplane
Sep 21st 2026
Why Aircraft Belly Cleaning Is a Different Job
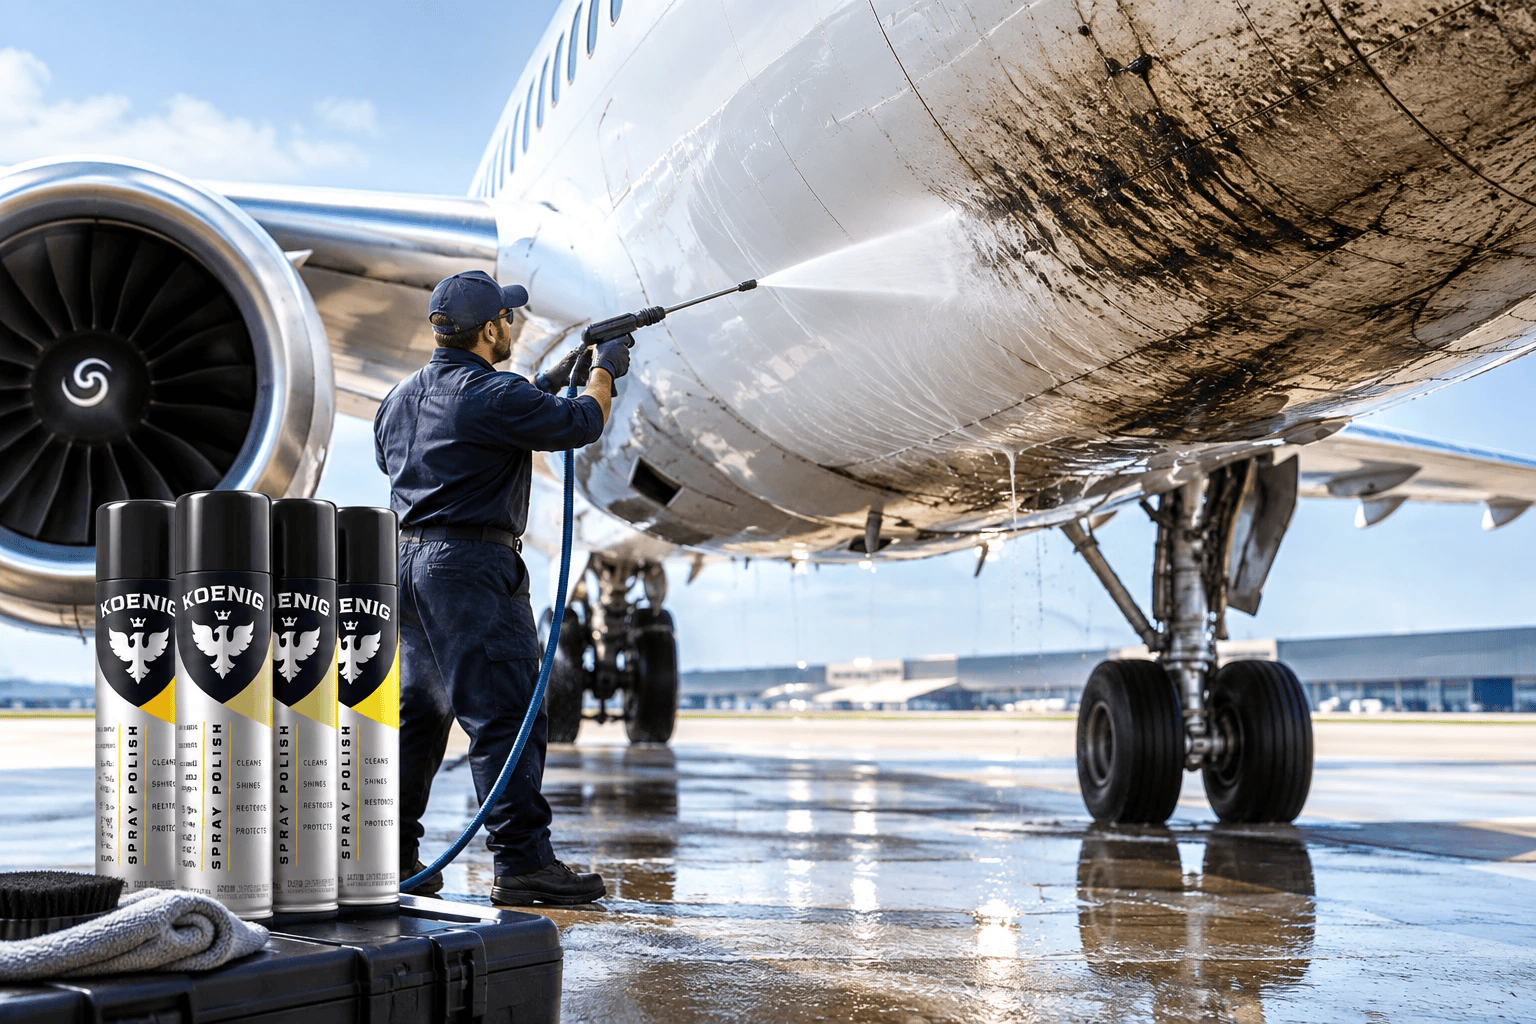
The belly of an aircraft can collect a combination of oil film, exhaust residue, grease, road-like environmental grime and airborne contamination. Unlike ordinary dust on the upper fuselage, this mixture can be sticky, layered and difficult to remove with a single quick wipe.
The right process begins by identifying what you are seeing. Old, dry residue that has accumulated gradually is a detailing problem. Fresh fluid, an unusual streak or a new leak may be a maintenance issue first. Cleaning should never be used to hide a condition that needs to be inspected by qualified maintenance personnel.
Once the area is appropriate to clean, the objective is to break the contamination down methodically without unnecessarily attacking the paint or surrounding materials.
1. Inspect Before You Clean
Before applying the product, look at the pattern of the contamination. Is it a uniform film, localized exhaust staining, greasy residue around a known service area, or a fresh wet trail? If the condition is new, heavy or unusual, stop and have the aircraft operator or maintenance team evaluate it.
Also identify nearby openings, drains, antennas, sensors, access panels and unpainted or specialty materials. Aircraft belly cleaning should be controlled. Flooding an area with liquid is not a substitute for careful application.
For professional detailers, a quick pre-clean photo is useful documentation. It helps distinguish an existing condition from the result of the cleaning process and can alert the operator to anything that looks abnormal.
2. Remove Loose Contamination First
If the belly has loose dust, grit or dried debris, remove that material before working on the oily film underneath. Dragging grit through grease with a towel can create unnecessary abrasion.
Use the aircraft-appropriate pre-cleaning method and keep towels separated by task. A towel used on a heavily contaminated belly should not later be used on a clean upper fuselage or transparent surface.
This sounds basic, but cross-contamination is one of the easiest ways to turn a successful cleaning job into a finish problem.
3. Work From the Least Contaminated Areas Toward the Dirtiest
Starting in the heaviest grime immediately loads towels and tools. Instead, divide the belly into manageable zones and work from cleaner areas toward the dirtiest. Apply the compatible cleaner in a controlled amount, give it time to work as directed and wipe before it dries.
If the first pass removes most of the film but leaves localized staining, treat the remaining spots separately rather than repeating an aggressive process across the entire panel.
Replace towels often. The more oil and soot a towel holds, the less effective it becomes at lifting contamination away from the surface.
4. Treat Oil, Grease and Exhaust as Different Problems
Oily residue generally responds to products or processes that can loosen and lift petroleum-like films. Exhaust staining may contain a different mixture and can become more stubborn with heat and time. Grease around service points can be heavier still.
The mistake is assuming that one increasingly strong solvent is the answer to every layer. Strong solvents may create compatibility problems with paint, sealants, decals or other materials. Use only products appropriate to the specific aircraft surface and escalate deliberately.
If a stain remains after the surface is clean, evaluate whether you are looking at discoloration or oxidation rather than removable contamination. At that point, polishing—not stronger cleaning—may be the logical next step.
5. Do Not Ignore Fresh Fluid or a Suspected Leak
Detailing is not a maintenance diagnosis. A fresh oil streak, hydraulic-fluid-like residue or unfamiliar wet area should be brought to the operator’s attention before it is simply wiped away. The appearance, smell or location of a residue may be important to maintenance personnel.
Professional detailers build trust by reporting what they see. Photograph the area, notify the appropriate person and let qualified maintenance decide whether cleaning can proceed.
This practice protects the aircraft, the operator and the detailing company. It also reinforces that professional aircraft detailing is part of responsible aircraft care, not merely cosmetic work.
6. Protect the Surface After Heavy Cleaning
Heavy cleaning can leave a surface clean but unprotected. Once the contamination is removed and the finish is in acceptable condition, a compatible protective maintenance step can make future cleaning less difficult.
On appropriate exterior surfaces, a clean-and-protect product may also reduce the number of separate steps needed after routine belly cleaning. The benefit should be judged by the next service: does contamination release with less effort, and does the finish stay easier to maintain?
For aircraft with recurring exhaust or oil exposure, consistent maintenance is usually more effective than allowing months of buildup and then relying on aggressive correction.
Where Koenig Polish Can Fit
Koenig Polish can be evaluated on appropriate exterior surfaces after the heavy contamination is under control. In some routine situations it may contribute cleaning, polishing and protective functions in the same process. In severe cases, a dedicated degreasing or correction step may still be necessary before Koenig is used for finishing and protection.
That distinction matters. The credible claim is not that one can solve every belly-cleaning condition. The value proposition is that a versatile product may reduce overlapping steps in the normal maintenance range and leave the surface easier to maintain.
Test on a small area, follow the aircraft’s maintenance requirements and document the result.
Frequently Asked Questions
What is the best way to clean the belly of an airplane?
Inspect the area first, identify any possible maintenance issue, remove loose grit, work in small zones with a compatible cleaner, change towels frequently and escalate only where contamination truly requires it.
How do you remove exhaust stains from aircraft paint?
Begin by removing surface contamination with a compatible cleaning process. If the area is clean but discoloration remains, light polishing may be appropriate depending on the paint system and severity. Severe staining or paint damage may require professional correction.
Can I use a strong degreaser on an aircraft belly?
Do not assume a general-purpose degreaser is compatible with aircraft paint, sealants, decals or surrounding materials. Use only a process suitable for the specific aircraft and follow operator or manufacturer guidance.
What should I do if I see fresh oil or fluid while detailing?
Stop and notify the aircraft operator or maintenance team. A fresh or unusual fluid trail can be a maintenance issue and should be evaluated before it is cleaned away.
How often should an aircraft belly be cleaned?
Frequency depends on aircraft type, utilization, leakage history, exhaust pattern, storage and operating environment. Regular light cleaning is usually easier than allowing heavy buildup to accumulate.
For aircraft exterior maintenance, review Koenig Polish as a clean, shine and protect option on appropriate surfaces after heavy contamination has been safely addressed.